
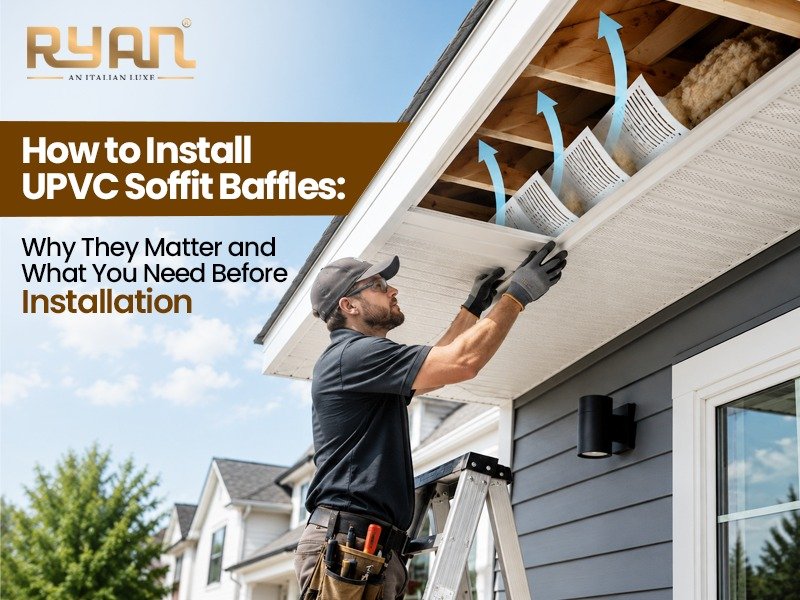
Whenever people think about protecting their roofs, their focus is usually limited to roofing materials and insulation, while roof soffit ventilation is often overlooked. If fresh air does not properly circulate into the house and attic, heat and moisture gradually build up. This causes the attic to overheat, potentially leading to problems such as mold, wood rot, and insulation damage. uPVC Soffit baffles solve this problem quite easily. They sit between the roof rafters and make sure air can flow freely from the soffit vents into the attic without any blockage from insulation. By preventing insulation from blocking the airflow, soffit baffles help maintain proper attic ventilation, reduce moisture buildup, and improve the overall performance of your roof soffit ventilation system. Learning how to install soffit baffles is a good starting point if you are hoping to change your home’s ventilation, replace insulation, or simply protect your roof for the long haul. In this guide, we’ll talk you through the step-by-step process of installing them, why soffit baffles are important, and some helpful tips to avoid common mistakes.
What Are uPVC Soffit Baffles?
Soffit baffles are called rafter vents, vent chutes, or insulation baffles) They are lightweight pieces that are placed between roof rafters near the soffit vents. Their main purpose is to keep the air pathway open so that air can move easily from the soffit into the attic without any blockage. If soffit baffles are not installed, insulation can slowly move and cover the soffit vents. When this happens, fresh air cannot properly reach the attic. A properly installed soffit baffle keeps fresh air moving through the attic by creating a clear path from the soffit vents to the roof vents. This steady airflow helps control moisture, keeps the attic cooler, and supports a healthier roof soffit ventilation system.
Why Soffit Baffles Are Important
Installing soffit baffles is not merely an optional upgrade; it is essential for the health of your attic.
Key Benefits:
- Maintains proper airflow
- Reduces attic overheating
- Controls moisture and condensation
- Reduces the risk of mold and mildew
- Extends the lifespan of roof insulation
Problems Without Soffit Baffles
If soffit baffles are not installed:
- Insulation can block the soffit vents
- Fresh air cannot reach the attic
- Heat gets trapped in the attic
- Wood rot and structural damage can occur
- Energy efficiency decreases
Materials You Need Before Installation
Before starting the installation these things should be ready:
- Soffit baffles (foam, plastic or cardboard type)
- Staple gun/nails
- measuring tape
- safety gloves
- Ladder
- Utility knife (agar cutting required)
Step-by-Step Installation Process
Step-1. Attic Inspection
Before installing the soffit baffle the first step is go into the attic and carefully check the Soffit vents are not blocked and by insulation or any other material.This inspection is important because soffit vents are the main entry point for fresh air into the attic.
- You can check the proper airflow into the soffit area.
- Verify that the ventilation system is working properly before installation
Step-2. Measure Rafter Space
Once you have completed the attic inspection the next step is to measure the space between the roof and rafters. Perfect and accurate measures are very important for the installation process. Soffit baffles come in different sizes and shapes to ensure proper fit and cut to install the soffit baffle
- Use a measuring tape for accurate results.
- Choose a baffle size that matches the rafter spacing.
Step-3. Position the Baffle
The other step is to the soffit baffle. Once you select the proper size and shape carefully place the soffit baffle between the roof rafters, directly above the soffit vent. Make sure it is centered and aligned correctly so that it creates a clear channel for fresh air to move into the attic.
- Check that the airflow path remains completely open.
- Reposition the baffle if it is not sitting correctly.
Step-4. Fix the Baffle
Now secure the baffle firmly to the roof rafters with the help of the staple gun, nails and tape make sure its attached tightly a loose baffle can affect the airflow path and reduce the efficiency of the attic ventilation system
- Avoid overdriving staples or nails, as this may damage the baffle.
- Check that the baffle remains straight after fastening.
Step-5. Maintain Air Gap
After securing the baffle and checking that there is a proper gap between the baffle and the roof duck.
- Ensure the air channel remains open from the soffit vent to the attic.
- Do not press the baffle tightly against the roof deck.
Step-6. Reinstall Insulation
The last step is Once the soffit baffles are securely installed, carefully place the insulation back into its original position. After reinstalling the insulation, take a final look to ensure that the airflow path remains open from the soffit vents into the attic.
- Avoid pushing insulation into the ventilation channel.
- Perform a final inspection before leaving the attic.
Last note
Soffit baffles may seem like a small part of your roofing system, but they make a significant difference in maintaining proper attic ventilation. From preventing insulation from blocking airflow to reducing heat and moisture buildup, they help improve the overall health of your roof and home. At Ryan PVC, we believe that every home deserves reliable, long-lasting building solutions. By combining quality materials with the right installation practices, you can create a roofing system that stays strong, efficient, and well-protected for years to come.
